
Every Trent Glass stained glass commission follows a ten-stage hand-craft process — from initial design through to a finished, ready-to-install panel. The same workflow applies whether we are producing a small leaded panel for a domestic window, a multi-section cathedral dome, or a Tiffany-style lampshade.
This page outlines what happens between the brief and the delivered glass, so you know exactly how your commission is made.
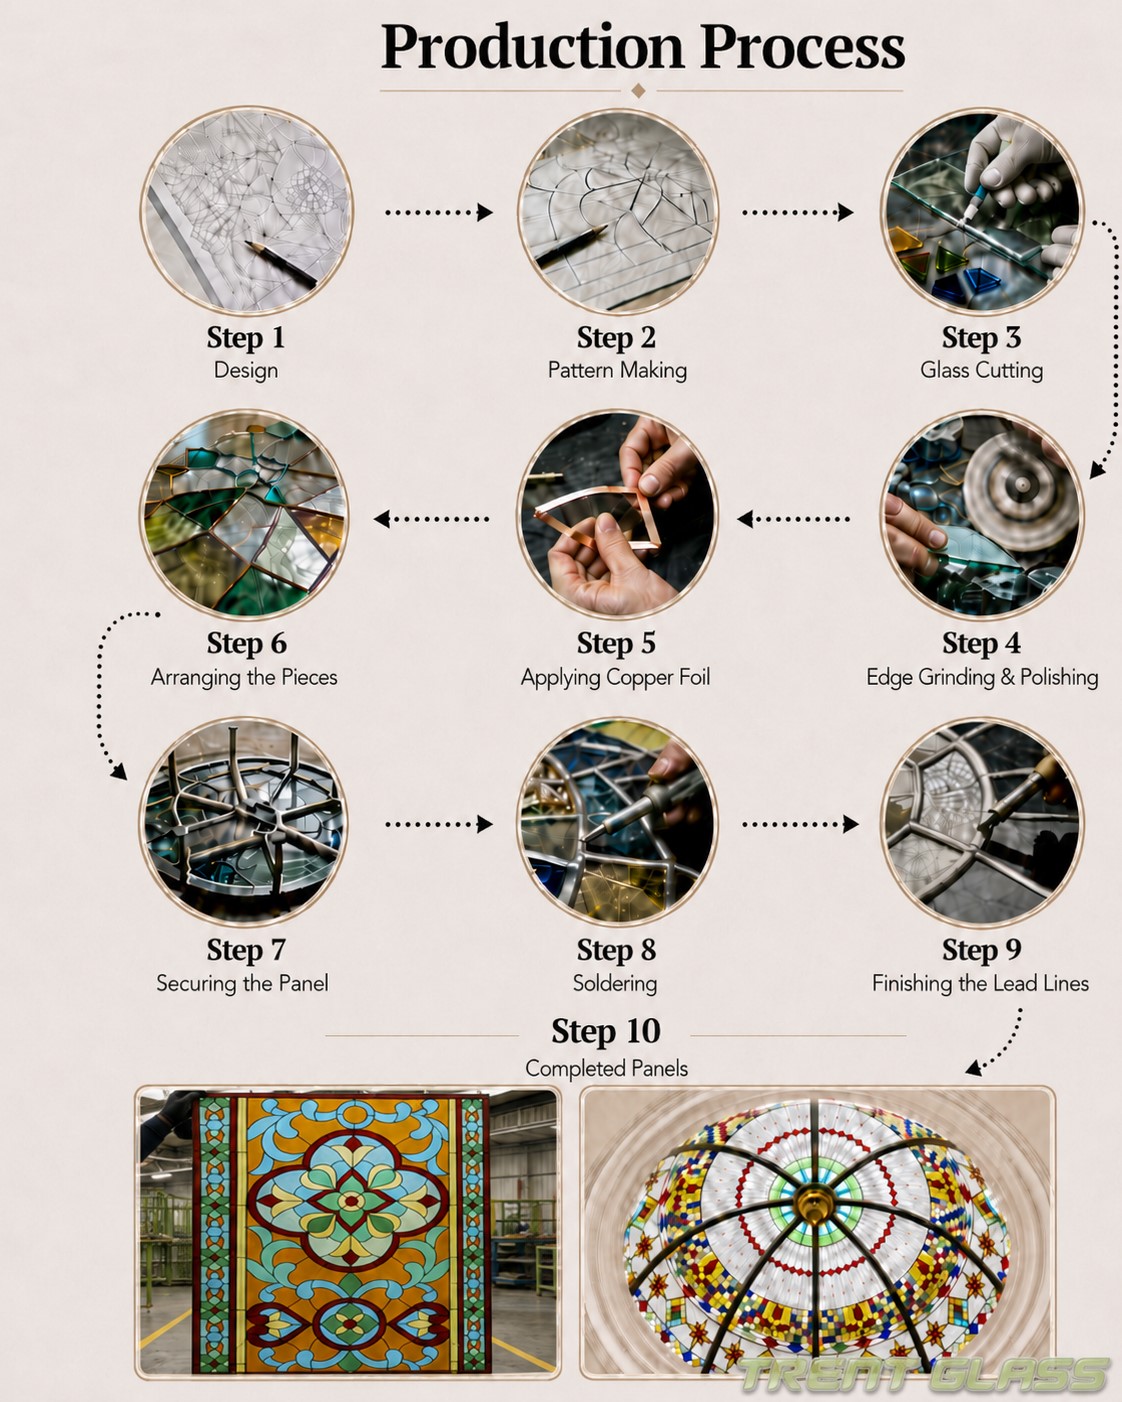
The Ten Stages
Stage 1 — Design
Concept drawing developed from your brief, photographs, archive references or architect’s drawings. We produce coloured visuals for sign-off before any glass is cut. Listed-building and church projects also include a sample board for conservation officer approval.
Stage 2 — Pattern Making
The approved design is scaled up into a full-size working cartoon. Each piece of glass is numbered and templated so the panel can be cut, assembled and reassembled accurately across the workshop.
Stage 3 — Glass Cutting
Glass is hand-cut from our studio library — cathedral, opalescent, streaky, mouthblown antique, machine-rolled and textured glass — to match the cartoon piece by piece. We work from a colour palette agreed with you at the design stage.
Stage 4 — Edge Grinding & Polishing
Every cut piece is ground and polished on the edge so the panel comes together with tight, gap-free joints. This is one of the steps that separates a serious workshop from a hobbyist one — and it directly affects the final panel’s strength.
Stage 5 — Applying Copper Foil
For Tiffany-method work, each piece is wrapped in adhesive copper foil. For traditional leaded panels we use H-came lead instead. The method is chosen at design stage to suit the artwork: copper foil for fine, curved, jewel-like detail; lead for larger, period-correct panels.
Stage 6 — Arranging the Pieces
The panel is laid out flat on the bench against the cartoon. Every piece is checked for fit before any soldering begins. Adjustments are made here, not later — corrections after soldering are slow and expensive.
Stage 7 — Securing the Panel
A perimeter frame holds the panel together during assembly. For larger panels we add internal reinforcement bars (saddle bars) sized to the panel’s span and the installation location. Wind-load and dead-load calculations are run on any panel destined for an external window or skylight.
Stage 8 — Soldering
Every joint is hand-soldered, front and back. The solder beads are smoothed so each line reads as a clean, even contour — not a blob — which is what gives a finished Tiffany piece its quality.
Stage 9 — Finishing the Lead Lines
Leads are cleaned, the panel is cemented and blacked, and the lead lines are patinated to the agreed finish — pewter, black, brass-look or natural lead. Cementing is what makes traditional leaded panels weatherproof; it is essential, not cosmetic.
Stage 10 — Completed Panels
Every finished panel is quality-checked on a light table, then packaged for transport. UK delivery is by our own van for larger commissions, by insured carrier for smaller panels. Installation is by your glazier or by our installation team — your choice.
What You Receive
Every commission ships with:
- The finished glass — panel, dome, skylight, screen or lamp
- Frame or support hardware where specified at quote stage
- Installation guidance with rebate dimensions and structural notes
- Documentation: BS EN certification for any toughened or laminated safety glass element; method statement for listed-building projects
Lead Times
A typical bespoke leaded window or screen takes 6–10 weeks from sign-off. Domes, large skylights and complex multi-panel commissions take 10–16 weeks. Listed-building projects requiring Listed Building Consent should allow an additional 4–8 weeks for the consent process before manufacture begins.
Browse Stained Glass Products
See our full range of stained and architectural art glass: